

This lesson is made with PSPX9
But is good with other versions.
© by SvC-Design

Materialen Download :
Here
******************************************************************
Materials:
13154694016_femmes.psp
blokjes.png
Image2.png
lamp_is_on-800x600.jpg
lynd04-010 001.jpg
rooske.PspSelection
Tekstregel.psp
******************************************************************
Plugin:
Plugin - Birgits Chaos - Embroidery
Plugin - L&K - Zita
plug-in - L&K - Frederiek
Plugins - Eyecandy 5 - Impact - Chrome
******************************************************************
color palette
:

******************************************************************
methode
When using other tubes and colors, the mixing mode and / or layer coverage may differ
******************************************************************
General Preparations:
First install your filters for your PSP!
Masks: Save to your mask folder in PSP, unless noted otherwise
Texture & Pattern: Save to your Texture Folder in PSP
Selections: Save to your folder Selections in PSP
Open your tubes in PSP
******************************************************************
We will start - Have fun!
Remember to save your work on a regular basis
******************************************************************
Foreground: #736159
Background: #000000
1
Open a new transparent ima800 x 600 pix
2
Selection - Select All
3
Open lamp_is_on-800x600.jpg
Edit – Copy
Edit - Paste into selection
4
Selection - Select None
5
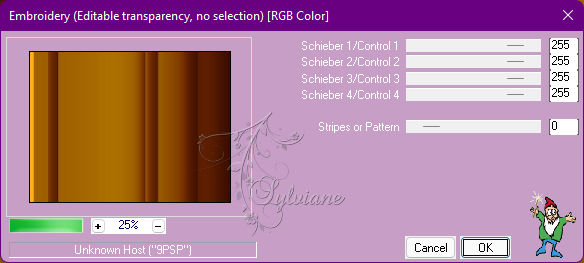
Plugin - Birgits Chaos - Embroidery - Default
6
Adjust – Blur - Gaussian Blur at 20
7
Effects - Edge Effects – Enhance
Effects - Edge Effects - Enhance More
8
Layers - Duplicate
9-
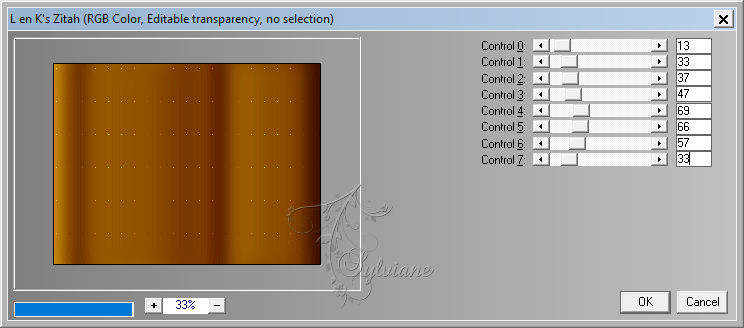
Plugin - L&K - Zita
10
Activate the bottom layer
Layers - Duplicate
11
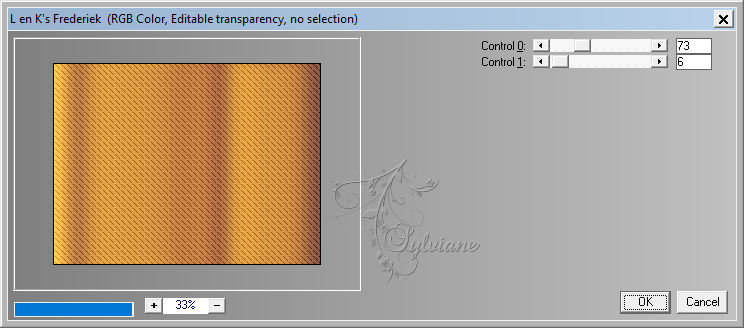
plug-in - L&K - Frederiek
12
Layers - arrange – up
set the layer opacity to 62
13
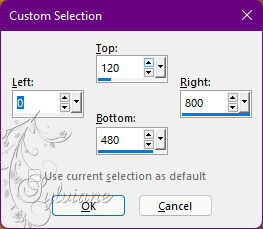
Activate Selection - Custom selection
14
Press delete on your keyboard
leave the selection active
15
In your layer palette, go to the middle layer and click on delete
16
leave the selection active
17
Make the top layer active
18
Layers - New Raster Layer
19
Open lamp_is_on-800x600.jpg
Edit – Copy
Edit - Paste into selection
20
Selection - Select None
21
Set to Multiply and Opacity to 36
Layers - New Raster Layer
22
Activate Selection - Custom selection
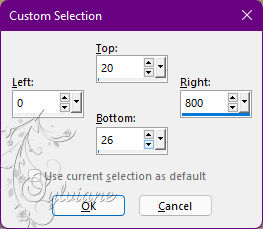
24
Fill the selection with your foreground
25
Selection - Select None
26
Layers - Duplicate
27
Effects - Image Effects - Offset
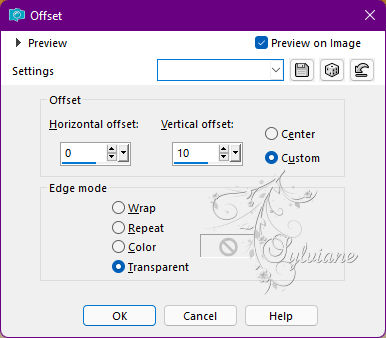
28
Layers – merge – merge down
29
Click with your magic wand between the 2 lines
30
Layers - New Raster Layer
fill with background
31
Selection - Select None
32
Effects - Edge Effects - Enhance More
33
Layers - Duplicate
34
Image - Mirror – mirror Horizontal
Image - Mirror - Vertical Mirror
35
Open Tekstregel.psp
Edit – Copy
Edit - Paste as new layer
put it in the example
36
Effects - Edge Effects - Enhance
38
Open blokjes.png
Edit – Copy
Edit - Paste as new layer
39
Image Free Rotate, 90% Right
40
Effects - Edge Effects – Enhance
put it in the example
41
Take the cubes (with white background), export file, custom brush, give it a nam
42
Activate the top layer
43
New raster layer and stamp the blocks on your creation as in my example
44
Effects - Edge Effects - Enhance
45
Activate the top layer
46
Layers - New Raster Layer
47
Selections - Load / Save - Load selection from disk - rooske.PspSelection

48
Fill the selection with foreground
49
Selection - Select None
50
Plugins - Eyecandy 5 - Impact - Chrome

51
Effects - 3D effects - drop shadow,
7/7/80/10 color:#000000
52
Adjust – hue and saturation – colorize
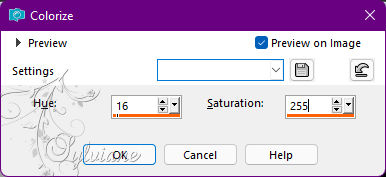
53
Open 13154694016_femmes.psp
Edit – Copy
Edit - Paste as new layer
54
Resize image 75%, uncheck all layers
55
Put them as in the example
56
Effects - 3D effects - drop shadow,
7/7/80/10 color:#000000
57
Open Image2.png
Edit – Copy
Edit - Paste as new layer
58
Image - Resize - 2x by 75%
59
Effects - 3D effects - drop shadow,
7/7/80/10 color:#000000
60
Put your name on your creation
61
Layer – merge – merge all (flatten)
62
Make your creation 600 pix longest side and save as jpg
Back
Copyright Translation © 2022 by SvC-Design